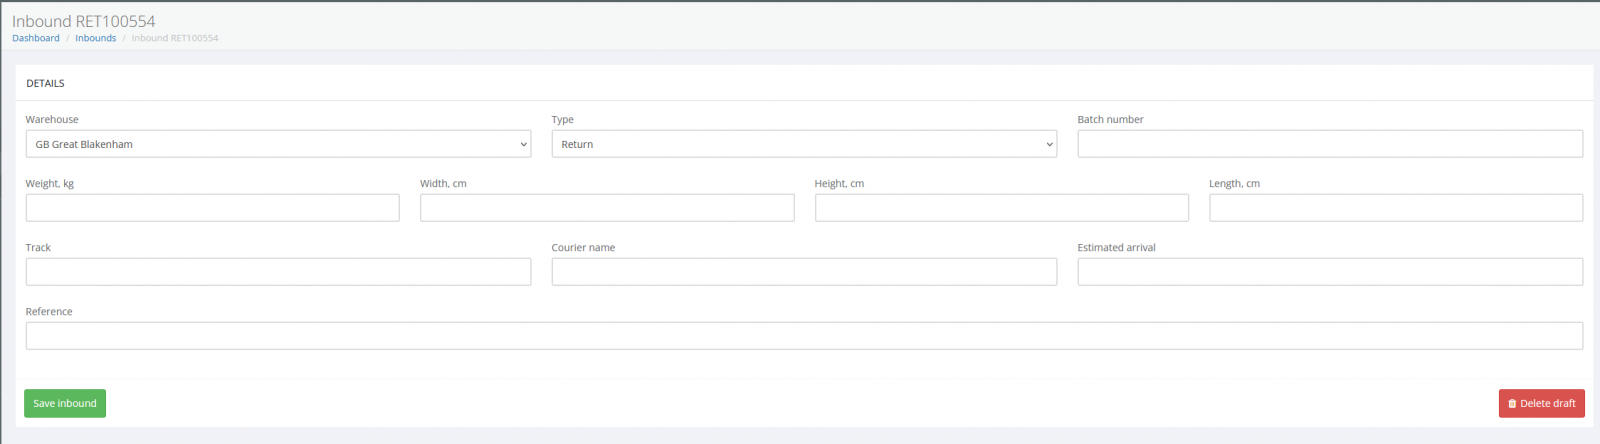
STEP 1: Press button add inbound from dashboard, or on Inbounds page.
Select Warehouse, Choose the correct warehouse from the list. Different warehouses operate independently.
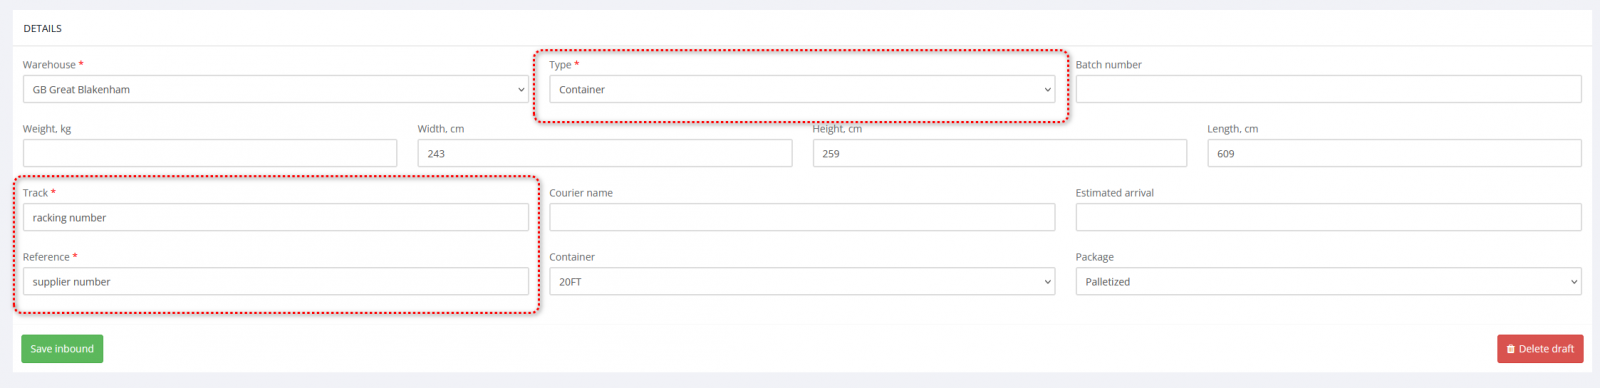
STEP 2: Choose Inbound Type Selecting the correct inbound type helps the warehouse understand:
What equipment is required (forklift, container unloading, etc.)
How much time to allocate and what pricing model applies
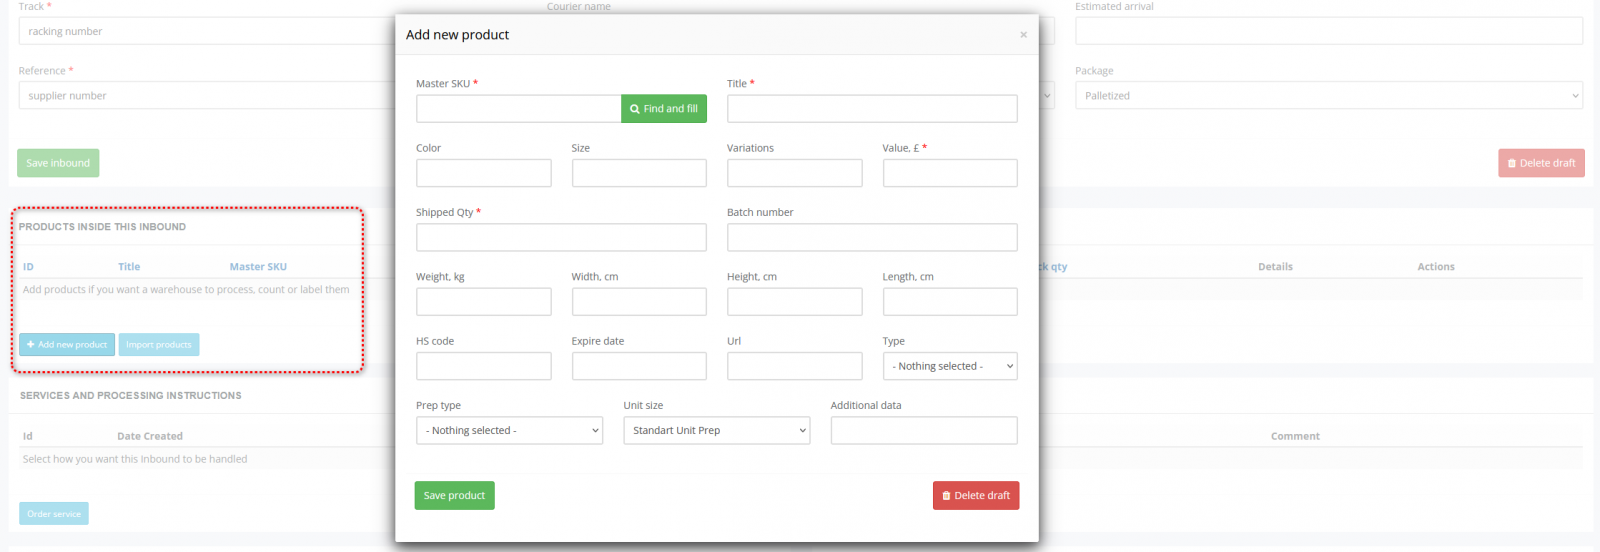
STEP 3: Add Products
You must add products if you want a warehouse to process them.
Correct SKU data reduces errors and speeds up processing.
Why this is critical: Without product data, warehouse cannot count units or label SKUs
Cannot perform inspection and prepare FBA shipments or allocate stock correctly
You can: Add manually or import via file upload and from sales channels what you connect before
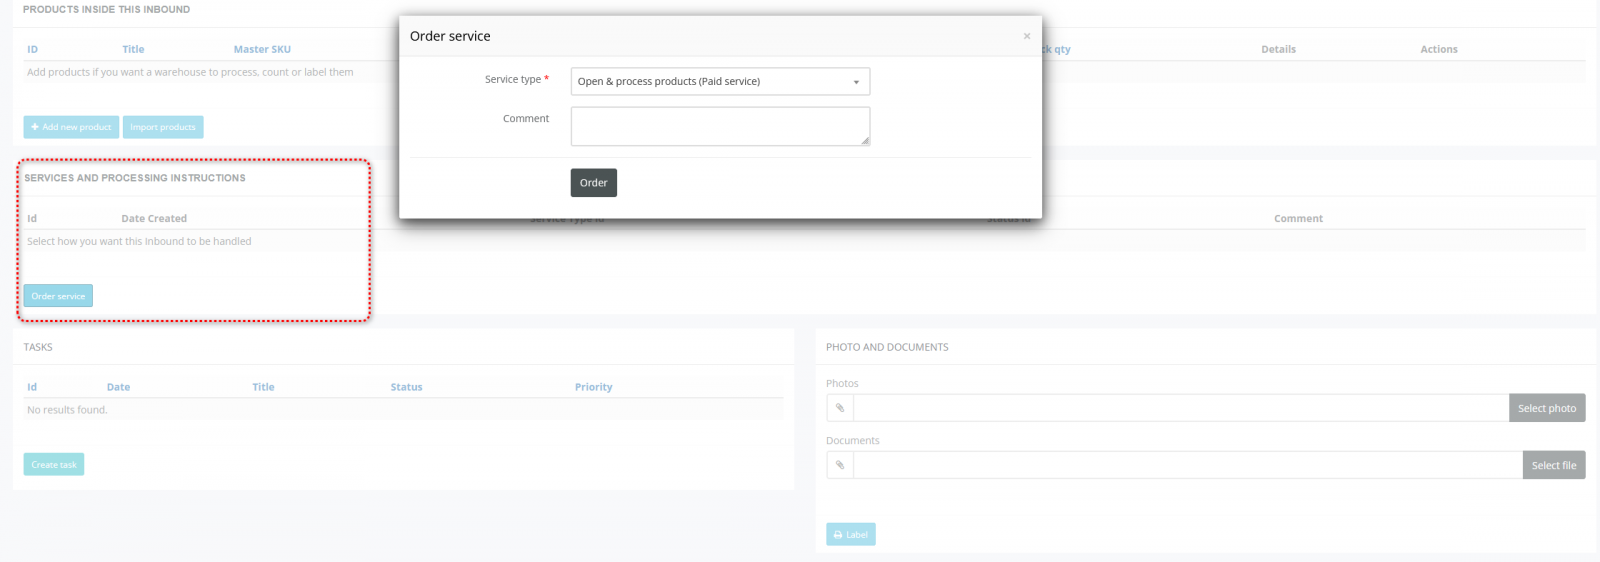
STEP 4: Select Services
Warehouse only performs operations that are selected.
If no services are selected:
Goods will be received and stored only as we receive it.
Services include: Open & process products, SKU labelling, Inspection, Repacking or others
Why this matters: Services define what actions the warehouse team must perform and what will be billed. Clear service selection prevents misunderstandings and delays.
This ensures:
Faster receiving
Correct billing
Transparent reporting
Accurate storage calculation
No unidentified goods at warehouses