2. Click "Shipments"
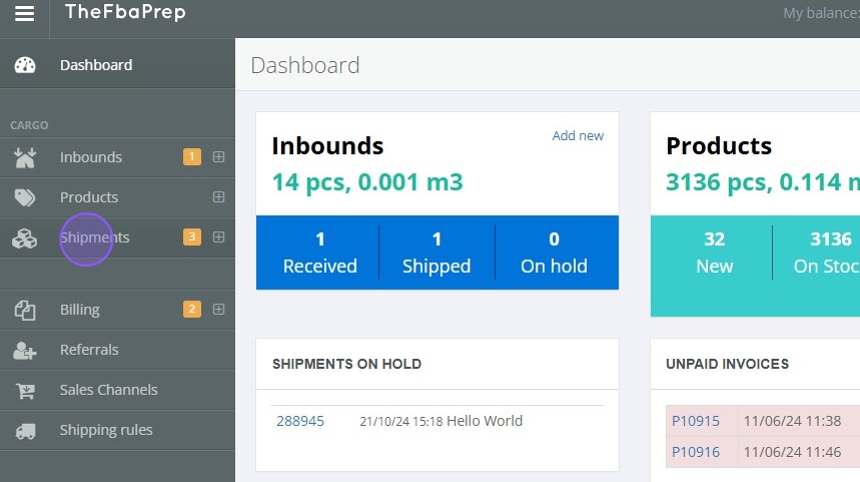
3. Click "Manual order"

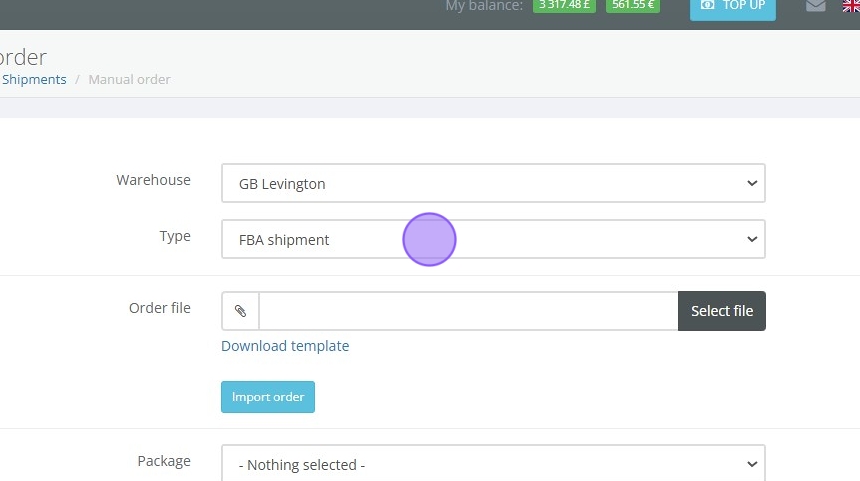
4. Begin by choosing the warehouse from which you want to ship.
The warehouse selection will determine the stock availability and shipment options for your order.

5. Next, select the type of shipment you want to create. Each type offers specific options based on the shipping needs. Available shipment types include:
6. After selecting your shipment type, additional fields will appear based on the chosen option:
Tip:
7. Optional - Upload Multiple Shipments Using a Template
If you have multiple shipments to create, download the template file provided in the system to batch upload orders. This feature enables you to upload multiple shipments quickly.
Note: The batch upload option is not available for Box Forwarding or Pallet Forwarding shipments.

8. Click "Select file"

9. Click "Import order"

10. Enter the detailed delivery address for the shipment. Complete and accurate information is essential for successful delivery:
Recipient Name: Enter the name of the customer or company receiving the shipment.
Full Address: Provide the complete delivery address, including street, city, postal code, and country.
Reference Number: This number is for internal tracking and customer reference.
Email and Phone Number: Ensure accurate contact information so the courier can notify the recipient of the delivery schedule and status.

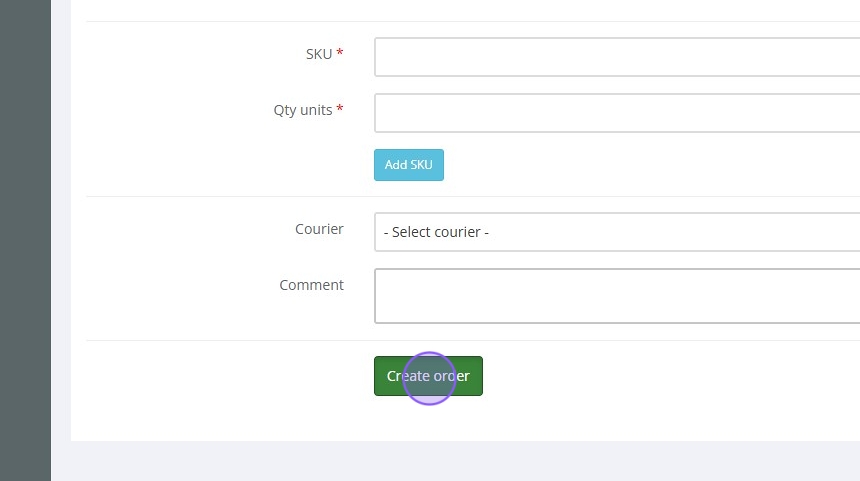
11. ### Add SKUs for the Shipment
Specify the SKUs that correspond to the items being shipped. Only SKUs available in the system can be selected.
If additional SKUs are needed, you can add them to the system before creating the shipment.

12. Add quantities you want to ship of this SKU

13. Click "Add SKU" if you want ship more SKU's with this shipment

14. Select Courier and Add Comments
Choose a courier for this shipment from the available options. Each courier may have different costs, delivery times, and services, so select based on your shipment needs.

15. If there are any specific instructions or comments for the courier, enter them in the Comments section. This might include special handling instructions or delivery preferences.

16. Click "Create order"