2. Click "Products"

3. Click "Add product"

4. Select Warehouse: Choose the warehouse where the products will arrive.

5. Add SKU: Add a new SKU (Stock Keeping Unit), choose from saved SKUs, or create a rule for generating SKUs. If you don't have a SKU, provide information that will help us distinguish the product.

6. Click "Find and fill"
If you have used the SKU before, the system will automatically fill in the title, color, size, and other relevant information.

7. Click on gear icon to add rules for SKU's

8. Add rules for product splits, such as changing from one SKU to an alternative SKU. You can add as many rules as needed for this product. Select type, add new SKU and quantity you want to change. Close window when finished.

9. Product Title: Enter the product title, which will be reflected on the FNSKU label.

10. Click the "Color" field.

11. Click the "Size" field.

12. Click the "Variations" field.

13. Value: Value of the single product.

14. Quantity: Specify the quantity of the product.

15. Batch Number: Enter the batch number for the product.

16. Dimensions: Provide the product's dimensions.

17. HS Code: If shipping abroad, provide the HS Code (Harmonized System Code).

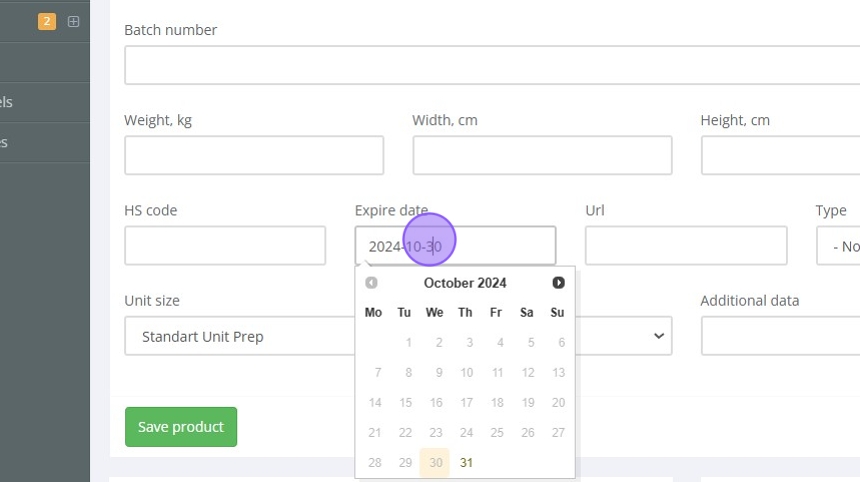
18. Expire Date: Enter the product's expiry date, if applicable.
19. Product URL: Provide a URL to your product page.

20. Product Type: Specify the type of product (e.g., clothing, electronics, sports equipment).

21. Preparation Type: Select the required preparation type, such as bubble wrap or poly bagging.

22. Unit Size: Specify the unit size for preparation (single unit, bundle, small item, large item).

23. Additional Data: Add any other relevant information about the product.

24. Click "Save product"
