Add Inbound Shipments Extended - Guide

  1. All Inbound Section
  2. Add Inbound Order
  3. Add Inbound Order - Extended
  4. All Products Section
  5. Add Products
  6. Add Products - Extended
  7. All Shipments Section
  8. How to create manual order


How to Add Inbound Shipments Extended

1. Importing inbound shipments with Excel template: Download the inbound template (link provided)


Add Inbound Shipments Extended - Guide

Tip: Open the Excel file and fill in the following details:

  • Country where the inbound stock is going (Warehouse)
  • Reference number
  • Tracking number
  • Quantity of identical boxes/items
  • Any comments
  • Type (1 for pallet, 2 for box, 3 for container, 4 for removal, 5 for return)

Save the filled template

2. Import the saved inbounds template into the system
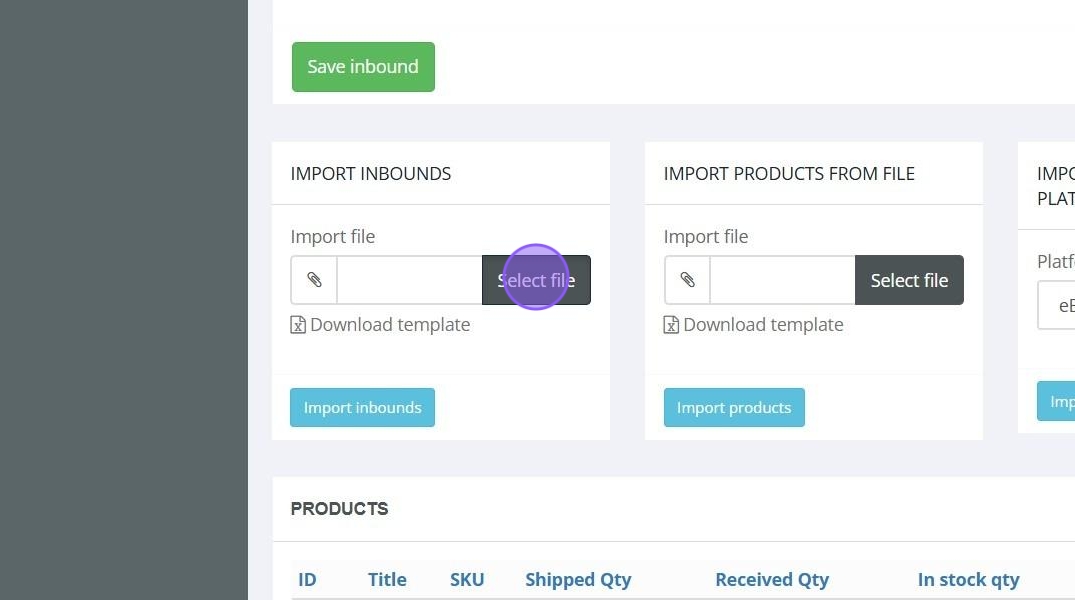
Add Inbound Shipments Extended - Guide — 2

3. Click "Import inbounds"

Add Inbound Shipments Extended - Guide — 3

4. Download the products template

Add Inbound Shipments Extended - Guide — 4

Tip: Open the Excel file and fill in the following details:

  • Product Title
  • Main SKU
  • Dimensions
  • HS Code if shipping abroad
  • Shipped Quantity
  • Price
  • URL
  • Comment
  • Color
  • Size
  • Variations
  • Product Type ID ( You can find it in the different sheet in the file )
  • Expiration Date
  • Additional Data
  • eBay Item Number
  • Shopify SKU Number
  • FNSKU
  • ASIN
  • External ID
  • Merchant SKU
  • EAN Number
  • Etsy Number
  • WooCommerce Number

You can find detailed description of what is required in the "Explanation" sheet within the file.

Save the filled template

5. Click "Select file"

Add Inbound Shipments Extended - Guide — 5

6. Import the saved products template into the system

Add Inbound Shipments Extended - Guide — 6

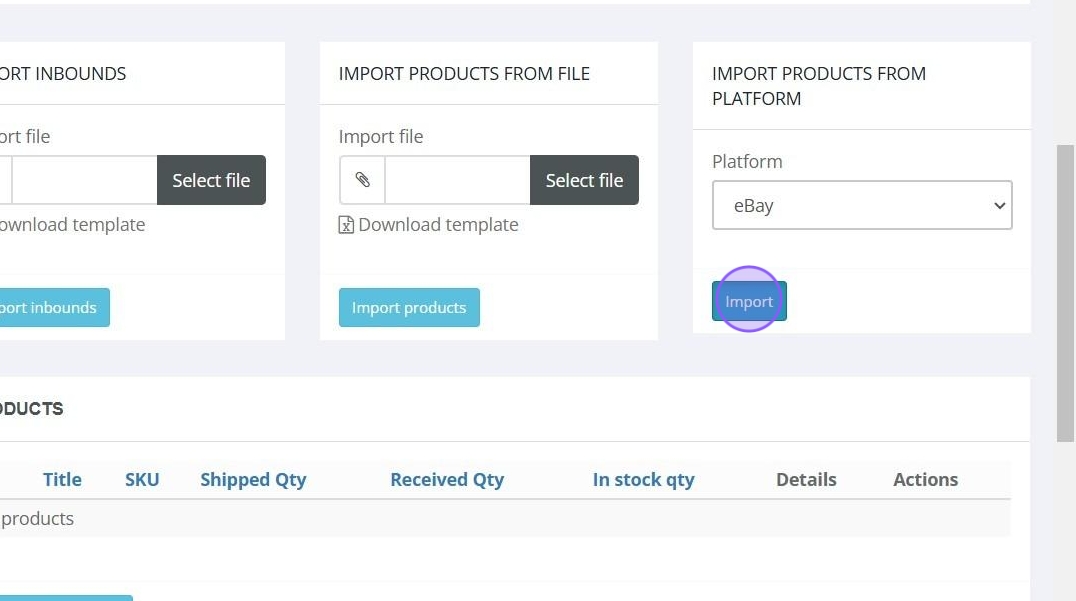
7. Import products from connected platforms

Add Inbound Shipments Extended - Guide — 7

8. Click "Import"

Add Inbound Shipments Extended - Guide — 8

9. Add new product to inbound shipment

Add Inbound Shipments Extended - Guide — 9

10. Add SKU: Add a new SKU (Stock Keeping Unit), choose from saved SKUs, or create a rule for generating SKUs. If you don't have a SKU, provide information that will help us distinguish the product.

Add Inbound Shipments Extended - Guide — 10

11. If you had this SKU already you can click Find and fill and it will automatically populate all the necessary fields.

Add Inbound Shipments Extended - Guide — 11

12. Product Title: Enter the product title, which will be reflected on the FNSKU label.

Add Inbound Shipments Extended - Guide — 12

13. Color, Size, Variation: Provide details about the product's color, size, and variation, if applicable.

Add Inbound Shipments Extended - Guide — 13

14. Value: Value of the single product.

Add Inbound Shipments Extended - Guide — 14

15. Quantity: Specify the quantity of the product.

Add Inbound Shipments Extended - Guide — 15

16. Batch Number: Enter the batch number for the product.
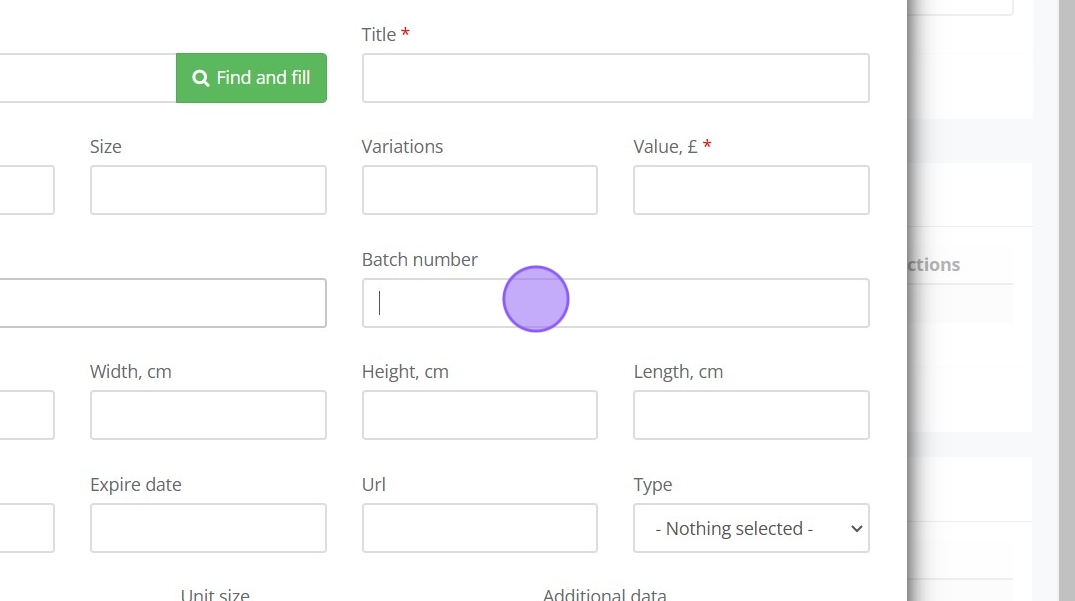
Add Inbound Shipments Extended - Guide — 16

17. Dimensions: Provide the product's dimensions.

Add Inbound Shipments Extended - Guide — 17

18. HS Code: If shipping abroad, provide the HS Code (Harmonized System Code).

Add Inbound Shipments Extended - Guide — 18

19. Expire Date: Enter the product's expiry date, if applicable.

Add Inbound Shipments Extended - Guide — 19

20. Product URL: Provide a URL to your product page.

Add Inbound Shipments Extended - Guide — 20

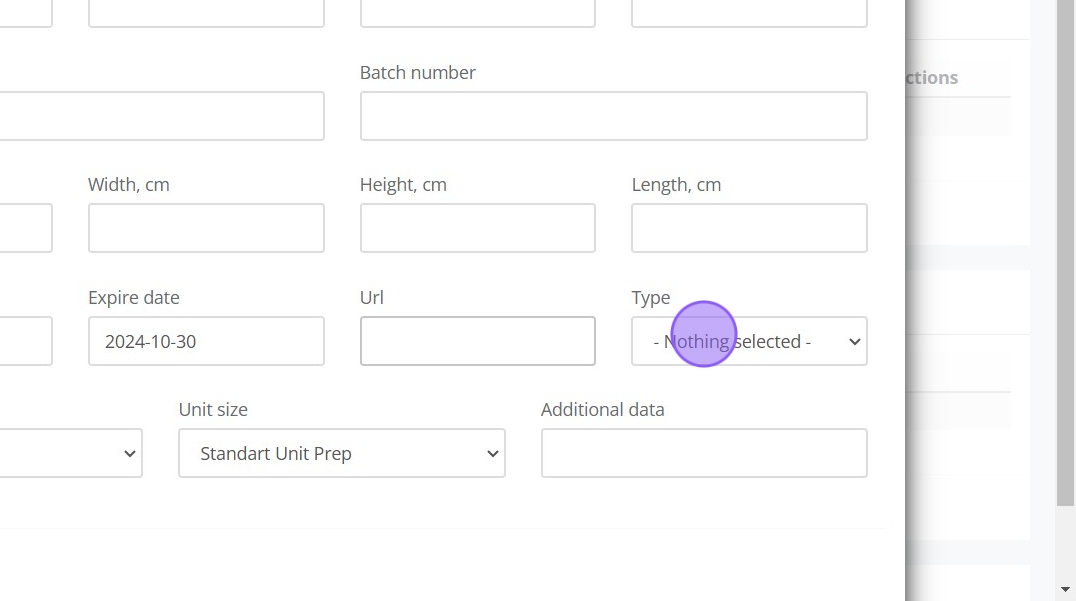
21. Product Type: Specify the type of product (e.g., clothing, electronics, sports equipment).
Add Inbound Shipments Extended - Guide — 21

22. Preparation Type: Select the required preparation type, such as bubble wrap or poly bagging.

Add Inbound Shipments Extended - Guide — 22

23. Unit Size: Specify the unit size for preparation (single unit, bundle, small item, large item).

Add Inbound Shipments Extended - Guide — 23

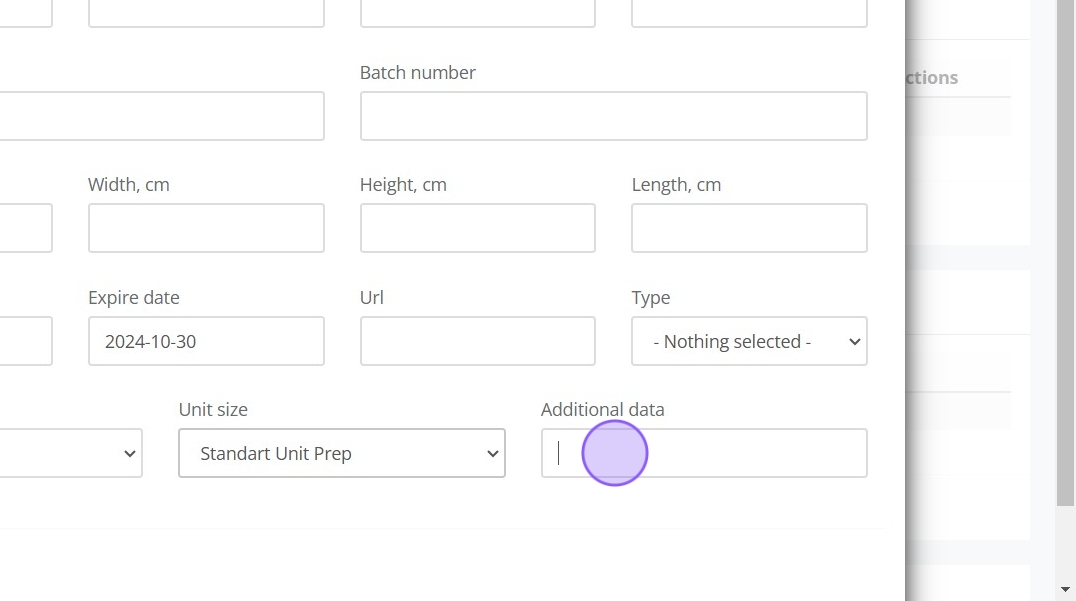
24. Additional Data: Add any other relevant information about the product.
Add Inbound Shipments Extended - Guide — 24

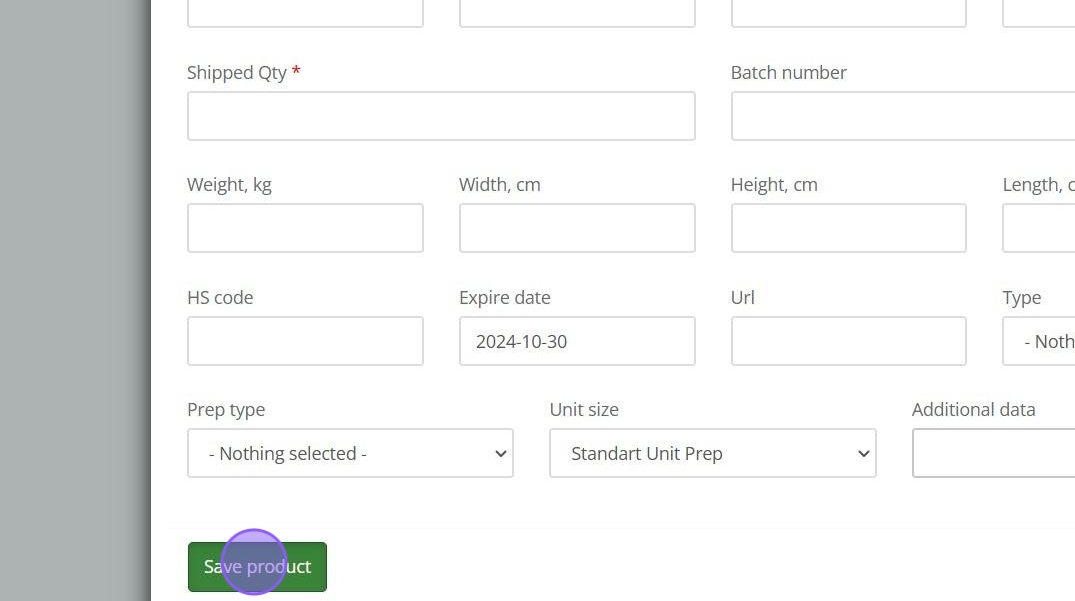
25. Click "Save product"

Add Inbound Shipments Extended - Guide — 25

Add services for your inbound shipment

26. Click "Order service"

Add Inbound Shipments Extended - Guide — 26

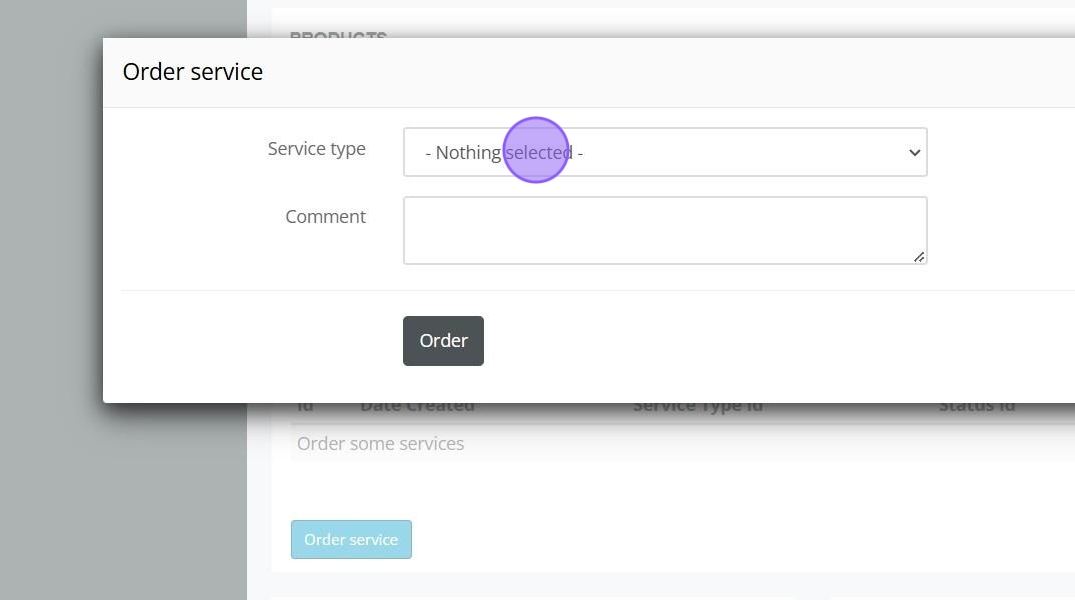
27. Select service type. Based on inbound type there will be different option for each of them.
Add Inbound Shipments Extended - Guide — 27

28. Provide any comments for this service to our warehouse staff

Add Inbound Shipments Extended - Guide — 28

29. Click "Order"

Add Inbound Shipments Extended - Guide — 29

30. Provide comments for this inbound shipment.

Add Inbound Shipments Extended - Guide — 30

31. Click "Save"

Add Inbound Shipments Extended - Guide — 31

32. Upload documents (e.g., photos, documents) for the shipment
Click "Select file"

Add Inbound Shipments Extended - Guide — 32

33. Print labels from the system

Add Inbound Shipments Extended - Guide — 33

34. Here you can see history of this inbound shipment and errors. This is more for the future when this inbound is actually created

Add Inbound Shipments Extended - Guide — 34


Knowledge Base

We use cookies to improve your shopping experience. If you'd like to continue exploring our site, please accept our Cookie Policy. Read more Got it!